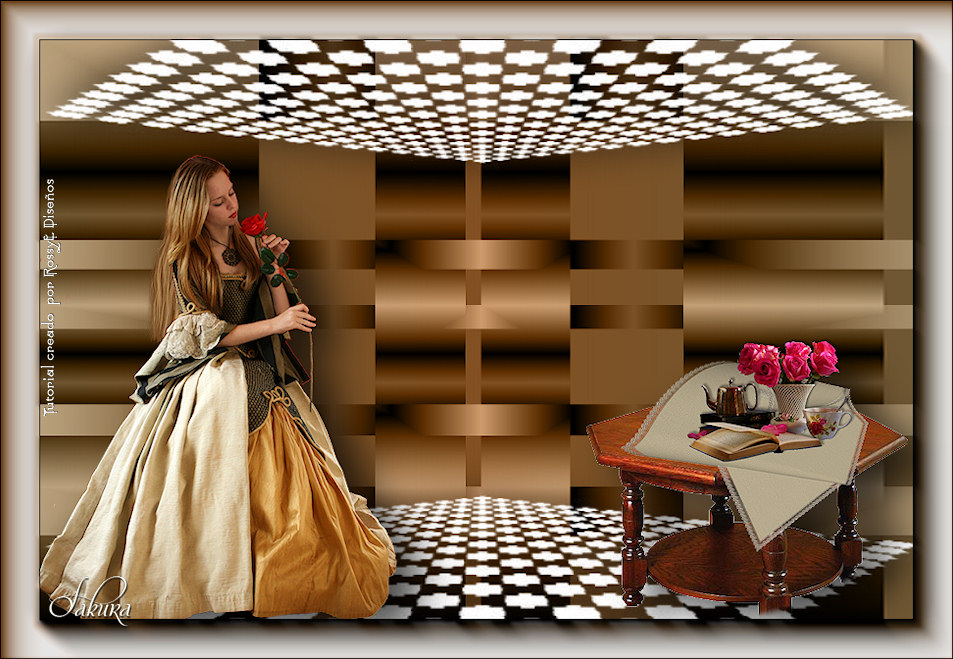
The Rose


The images used in my tutorials are received by mail groups and / or downloaded from internet pages.
With these exercises, I do not earn money, it is mere learning that I share with the other people who have as a hobby working in Paint Shop Pro.
All rights © of the images belong to the artists.

VM Instant Art
Alien Skyn/ Eyes Candy 5 Impact
AAA frames
program effects
Materials

(desconozco l@s tuberos)
2 Prepare a gradient with two colors one dark and one light
Foreground #8c5b2c Background Color #d3bc98
Gradient Linear 90 1

3 Duplicate layer
4 Effects/ Plugins/
VM Instant Art/ Wired
130 110 160 160 40 80 90 110

or Filter Umlimited 2.0 / VM Instant Art/ Wired
130 110 160 160 40 80 90 110

5 Layers/ properties/ Blend Mode/ Luminancy (Legacy)

6 Effects/Distortion Effects/ Pinch: Force 100
7 Layers/ New Raster Layer/ Paint White
8 Open the mask/masque_382_franiemargot.
9 Layers/ New Mask Layer/From Image

10 Layers/merge/merge group
11 Image/Flip
12 Effects/ Image Effects / Offset 0 280
13 Layers duplicate
14 Image/Flip

16 Edit / Copy
17 Edit / paste as
new layer
18 Resize 87% and move left./ unchecked resize all layers
19 Effects/ Plugins / Alien Skyn / Eyes Candy 5 Impact / perspective Shadow. With their following values:
328 32 70
46 Black

20 Open tube table,
21 Edit / Copy Edit /
paste right.
22 Image / Resize:
60%
23 Apply the same
effect as above. (Alien skyn)
24 Settings / Sharpness
/ Sharpen
Have these layers

25 Layers / Merge /
Merge visible
26 Image / Add Border
/ Dark Color #8c5b2c of 3 pixels

27 Image / Add white
border #ffffff 30 pixels

29 Selections /
Invert
30 Effects / 3d
Effects / Drop Shadow 0 0 80 60
31 Selections Select
None
32 Image / Add border
dark color #8c5b2c 3 pixels


If you want to share your practices to publish them here, you can send them to my Email.
If you want to translate my tutorials, contact me by email.
Created by Rosa Arena -> © RossyE Diseños
May 29, 2019 Ocumare del Tuy
Venezuela
Copyright 2000 © RossyE "All rights reserved"
It is strictly forbidden, by law, to disclose them on another website or any other form of transmission without the express authorization of the author or of the copyright holders of the effects, formats and other elements that make up the page.
Copyright protected by the Copyright Law / as a work of wit other than the original work


Comentarios
Publicar un comentario